How to Install Acoustic Panels on Ceiling – Complete Guide
Installing acoustic panels on the ceiling can dramatically improve the sound quality of any room. Whether you're building a studio, upgrading an office, or improving a home theater, ceiling treatment helps control reverb, echo, and overhead reflections.
But ceiling installs come with challenges—gravity, safety, and structure all matter. Done wrong, panels fall. Done right, they disappear into your space and do their job without a sound.
This guide breaks down how to install acoustic panels on ceiling step by step. We'll cover tools, materials, ceiling types, and real-world applications so you can get it right the first time.
Essential Tools and Materials for Ceiling Panel Installation
Before drilling anything, prep is key. You need the right tools—not just for function, but for safety, accuracy, and finish quality.
Professional Grade Hardware Requirements
Ceiling installs need more than double-sided tape or cheap anchors. Here's what we recommend for reliable performance:
- Toggle bolts or self-drilling drywall anchors for drywall ceilings
- Wire hanging kits for grid/drop ceilings
- Masonry anchors for concrete or brick ceilings
- Steel eye hooks, D-rings, or Z-clips for panel attachment
- Laser level, measuring tape, stud finder, drill/driver, and impact-rated bits
You can also consider acoustic panel mounting systems designed for ceiling installs. Some include pre-fabricated frames or hanging kits for a cleaner, modular finish.
While many guides show how to hang acoustic panels on walls, the ceiling needs load-bearing hardware. Treat it like a permanent fixture—not a decoration.
Safety Equipment and Preparation Checklist
Working overhead increases risk. Here's what every installer should have on-site:
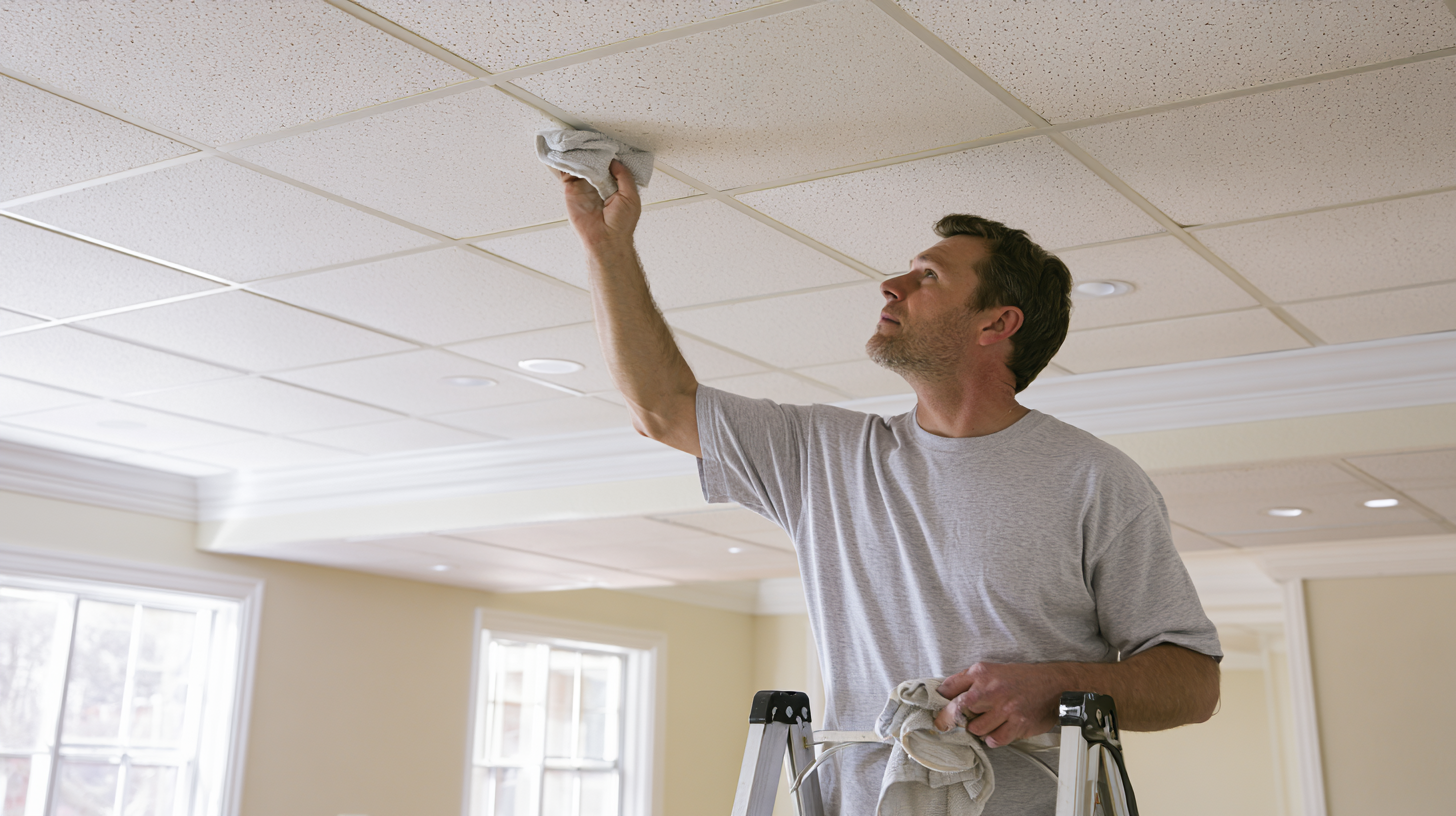
- Stable ladder or scaffolding (never use chairs or desks)
- Safety goggles and gloves
- Dust mask when drilling into concrete or cutting materials
- A helper or spotter—don't go solo if panels are heavy.
Before lifting anything, protect the floor with a drop cloth and mark off the work zone. Panels can shed debris, especially if made from fiberglass or mineral wool.
Double-check your ceiling height and weight ratings. Not every ceiling can handle heavy panels without reinforcement. Skipping this step leads to accidents—and sometimes lawsuits.
Measuring and Planning Your Panel Layout
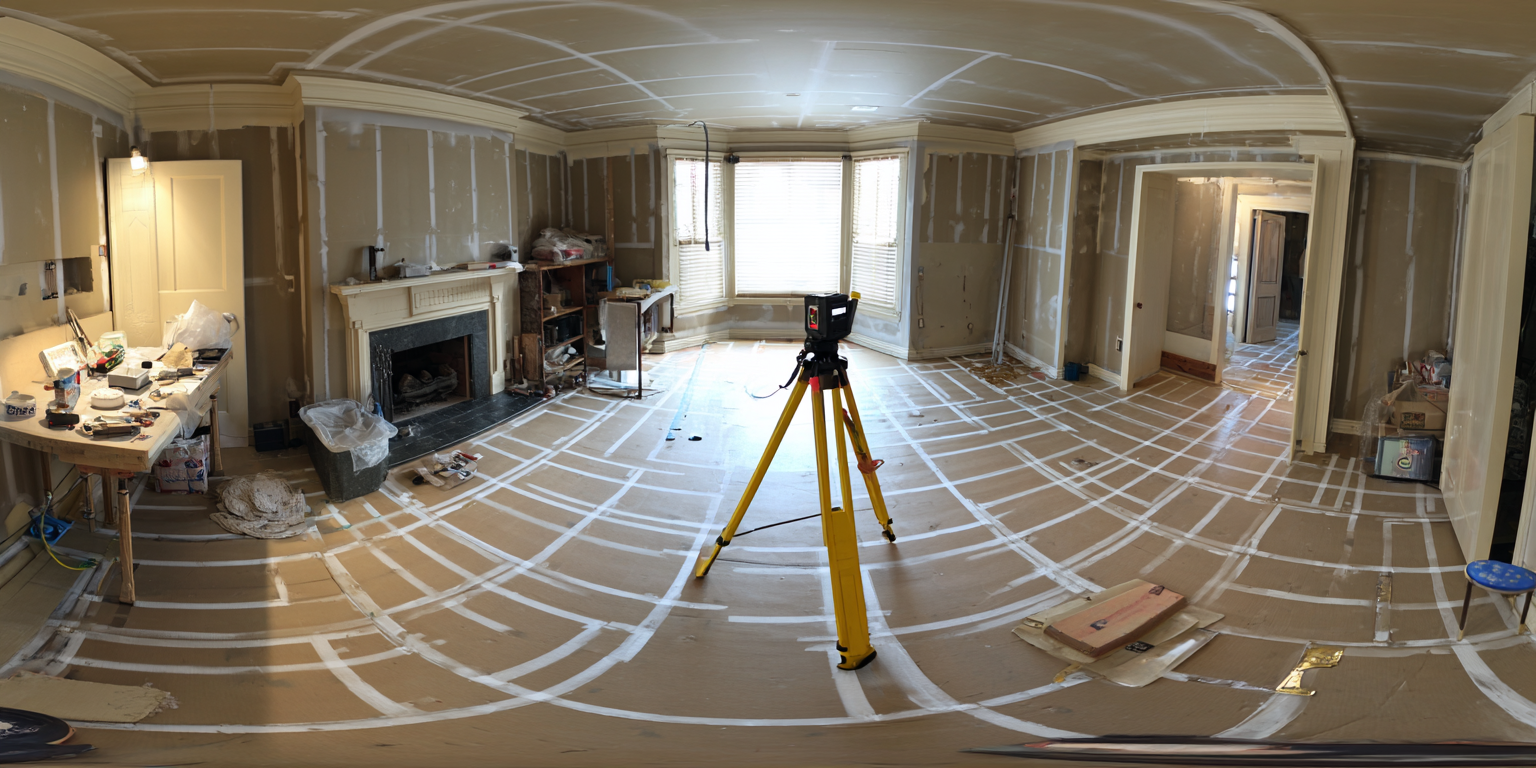
A well-executed ceiling installation starts with symmetry and precise spacing. Don't rush into mounting—take the time to plan your layout to scale.
Start by measuring the full dimensions of the ceiling, noting both width and length. Once you have those numbers, decide on the panel size and how many you'll need to cover the target area. Use a laser level and chalk lines to map out the spacing between panels, keeping everything aligned and consistent.
Next, identify ceiling joists or other secure anchor points. Mark these clearly with painter's tape or pencil so you know exactly where to drill.
Panel placement isn't just about coverage—it directly impacts performance. Focus on the first reflection points and the central zones of the ceiling where overhead reflections tend to build. Avoid crowding panels near walls or light fixtures unless it's part of an intentional design strategy.
This planning step is especially important for installations in offices, lobbies, or other spaces where both visual and acoustic presentation matter.
Understanding Different Ceiling Types and Installation Methods
No two ceilings are the same. The way you install depends entirely on what's above your head. Let's break down the most common ceiling types.
Drywall Ceiling Installation Techniques
Drywall is the most common ceiling surface—and also the most delicate. You can't just screw into it and hope it holds.
Best practice: Locate joists using a stud finder and secure directly into the wood. If that's not possible, use toggle bolts or heavy-duty drywall anchors rated for at least 30–50 lbs. per point.
To ensure a clean look, you can pre-attach D-rings to the back of each panel and use eye hooks with adjustable cable kits for suspension. This also gives you height flexibility—especially helpful in recording studios where ceiling reflections need precision control.
If you're unsure how to hang acoustic panels on drywall safely, default to redundancy. Use at least two anchors per panel and test each one before walking away.
Drop Ceiling and Suspended Grid Systems
These ceilings make installation easier—but come with limitations. You can't screw directly into the tiles. They're lightweight and offer no structural support.
Solution: Use wire-hanging kits or T-bar clips. These attach to the metal grid and suspend the panels below the ceiling plane. It's a clean method used often in offices and classrooms.
For added security, zip ties or S-hooks can reinforce the connection. Just make sure the weight is balanced. Panels that hang unevenly create tension on the grid and look sloppy.
One of the upsides of hanging acoustic panels from the ceiling in a grid system is flexibility. You can easily reposition them or add more later as your needs change. For detailed professional solutions, check out our Drop Ceiling Installation services tailored for offices, schools, and commercial spaces.
Concrete and Specialty Ceiling Considerations
Concrete ceilings are a beast. They're common in basements, high-rises, and commercial spaces—but they're hard to drill and unforgiving.
You'll need a hammer drill and masonry anchors or expansion bolts. Be sure to use carbide bits and proper depth control to avoid damaging internal reinforcement or causing cracks.
Use ceiling clips or wire systems anchored into the concrete. The load must be evenly distributed. For ultra-heavy panels, consult an engineer or general contractor.
In lofts and creative spaces, exposed ductwork and pipes may limit where panels can go. But with creative planning, Ceiling Soundproofing can still be clean and effective—even on concrete or industrial ceilings.
Step-by-Step Process for Hanging Acoustic Panels from the Ceiling
Now that you've got your tools and assessed the ceiling type, it's time to get to work. Here's how to handle the install like a pro.
Locating Ceiling Joists and Structural Support
Start by finding the bones of your ceiling. Use a stud finder with deep scan mode to identify joists or beams. These are your strongest attachment points.
Mark them with painter's tape and note their direction. For standard 16" or 24" joist spacing, you'll be able to place multiple panels along a gridline.
Avoid drilling into areas with electrical or plumbing routes. Use caution, especially in older buildings where layouts may not follow code.
If joists aren't accessible, choose anchors rated for ceiling installs. Never rely on adhesive alone—overhead installations require true mechanical support.
Marking Installation Points and Grid Layout
Use a laser level or chalk line to mark the center points for each panel. Measure twice—cut once.
When laying out multiple panels, maintain consistent spacing (usually 2–4 inches between panels). This helps with both acoustic performance and visual alignment.
For cloud-style installs (panels floating slightly below the ceiling), mark cable lengths and suspension points in advance. You'll want panels to sit perfectly level once hung.
This precision is especially important for hanging acoustic ceiling panels in client-facing spaces like conference rooms or lobbies, where every inch matters.
Drilling and Hardware Placement Best Practices
Once your layout is marked and the structural support confirmed, it's time to drill.
Use the right drill bit for your ceiling type—wood, drywall, or concrete—and make sure it matches your chosen anchor or bolt. Pre-drill carefully to avoid cracks or blowouts. If using toggle bolts, make the hole wide enough to allow full expansion inside the ceiling cavity.
When installing eye hooks or threaded inserts, drive them snug but not overtight. Over-tightening weakens the hole. Always double-check anchor ratings—this is especially critical for hanging acoustic panels from the ceiling in environments where safety codes apply, such as public venues or commercial buildings.
Once your anchors are in place, attach cables, chains, or mounting clips to the panel. Hang, level, and gently test for movement. If the panel shifts or rotates under light pressure, adjust before finalizing.
A clean ceiling installation isn't just about sound—it's about stability, safety, and visual finish.
Acoustic Panels Ceiling Installation for Different Spaces
Different environments need different acoustic strategies. Here's how ceiling-mounted panels work across various real-world settings.
Recording Studios and Performance Venues
Studios and music venues are where ceiling panels shine—literally and acoustically.
In studios, ceiling reflections are a primary cause of unwanted reverb and colorations in recordings. Installing absorption panels overhead at first reflection points helps create a tighter, more controlled soundstage.
In drum rooms or vocal booths, we often create floating "cloud" installations—panels suspended a few inches below the ceiling to maximize absorption across multiple frequencies. This configuration also helps with heat dissipation and lighting.
When installing in venues or rehearsal spaces, we take rigging seriously. Heavy-duty hardware and fire-rated materials are a must. These aren't just design decisions—they're safety requirements.
If you're unsure how to hang acoustic panels that meet both acoustic and fire code standards, our consultation service covers product selection, layout, and professional-grade rigging.
Office Buildings and Conference Rooms
Noise is one of the biggest complaints in open-plan offices and glass-heavy conference spaces. Echo, cross-talk, and HVAC hum all bounce off hard surfaces—and most of it reflects straight off the ceiling.
That's where acoustic panels ceiling installation changes the game.
In these spaces, we prioritize slimline, fabric-wrapped ceiling panels that blend with lighting grids and existing decor. Using T-bar mounting kits or lightweight suspension hardware, panels can float elegantly above desks and meeting tables—reducing echo and increasing focus.
For presentation rooms, we recommend full ceiling coverage over center tables, often paired with wall panels. This dual-layered treatment helps with voice intelligibility and makes video calls sound more professional.
You can see real-world examples of these configurations in our office acoustics and design project gallery.
Residential Applications and Home Theaters
Homes are where ceiling panels are often overlooked—but they shouldn't be.
Living rooms, bedrooms, and especially home theaters benefit tremendously from overhead absorption. Popcorn ceilings and drywall reflect a surprising amount of mid-to-high frequency energy. That means dialogue gets muddy, and surround sound loses definition.
Ceiling-mounted panels placed above seating areas or in reflection zones help focus sound and eliminate harsh bounce. For aesthetics, we often recommend custom-fabric panels with printed finishes or neutral tones that blend into the ceiling.
In bedrooms or apartments, hanging acoustic ceiling panels can help reduce reverberation and improve sleep quality—especially in echo-prone lofts or open-plan layouts.
We always tailor panel placement to ceiling height, fixture layout, and room use. Want to see what that looks like? Explore our residential soundproofing solutions to learn more.
Ceiling-mounted acoustic panels are one of the most effective ways to control sound. They take advantage of unused space, absorb reflections at their source, and often solve problems that wall panels can't fix alone.
But ceiling installs require planning. You need the right tools, materials, and layout strategy to make it safe and effective. If you're not confident doing it yourself, our team offers full installation services with structural verification and product matching.
To recap:
- Know your ceiling type. Drywall, concrete, and grid ceilings each need different anchors and methods.
- Map before you drill. Precision saves time, keeps panels level, and avoids costly mistakes.
- Use professional hardware. Cheap clips lead to expensive problems.
- Understand your goals. Not all ceiling installs are about echo—some are about clarity, control, or compliance.
If you're serious about acoustic performance, don't cut corners. Book a custom acoustic consultation, and we'll help you find the best path forward—whether you're a content creator, business owner, or just want your home to sound like peace.