How to Put Acoustic Foam on Walls Without Damaging Them
You can put acoustic foam on walls without damaging them by using removable adhesive mounting strips, attaching the foam to a separate backing board, using hook-and-loop (Velcro) strips, or placing it in a freestanding frame. These methods hold lightweight foam securely while leaving no holes and, when removed correctly, no marks on the wall.
The methods that damage walls are nails, pushpins, and strong, permanent spray adhesives, because they either punch holes or pull paint and leave residue when the foam comes down. Avoiding them is the core of a damage-free installation.
This guide covers each safe method step by step, plus how to prepare the wall and remove the foam later without leaving a trace.
Why the Mounting Method Determines Wall Damage
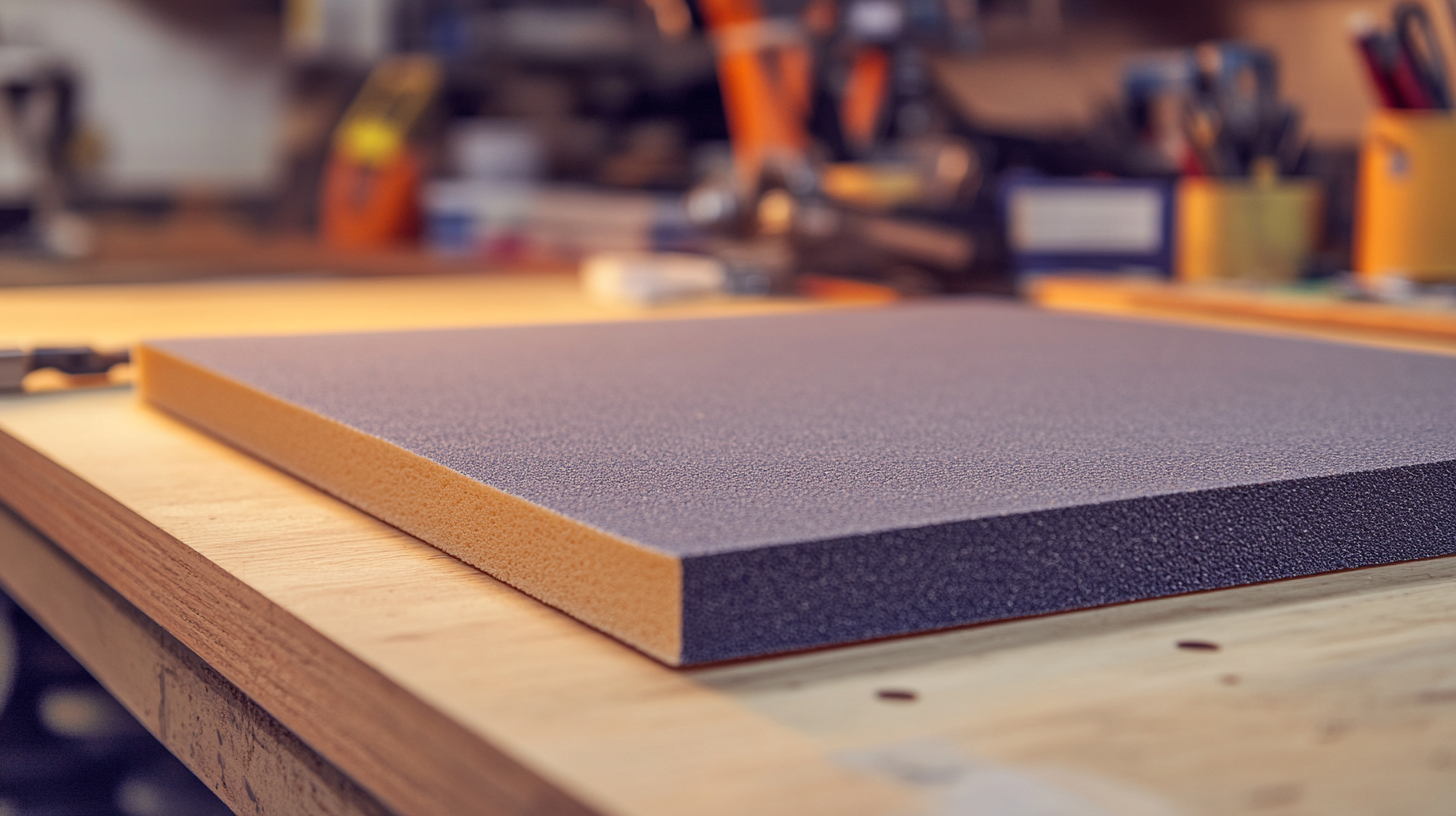
The mounting method, not the foam itself, is what damages a wall. Acoustic foam is lightweight open-cell polyurethane and puts almost no load on a surface, so the only thing that harms the wall is how the foam is fixed in place.
Two things cause damage. The first is anything that penetrates the surface, such as nails or pushpins, which leave permanent holes. The second is anything bonded too strongly, such as industrial spray adhesive, which can tear off paint, drywall paper, or leave residue that requires repainting.
A damage-free method, therefore, has to do two jobs: hold the foam without piercing the wall, and release cleanly when you take it down.
Damage-Free Methods to Put Acoustic Foam on Walls
Four methods reliably mount acoustic foam without harming the wall. Each suits a different wall type, rental situation, and level of permanence.
Removable adhesive mounting strips are the simplest option and work on smooth, painted drywall, holding foam directly with a clean-release backing.
Backing-board mounting keeps adhesive off the wall entirely by bonding foam to a light panel, which then hangs from removable hardware; it is ideal when you want to reposition panels often.
Hook-and-loop (Velcro) strips allow foam to be detached and reattached repeatedly, which suits spaces where you adjust placement while tuning the room.
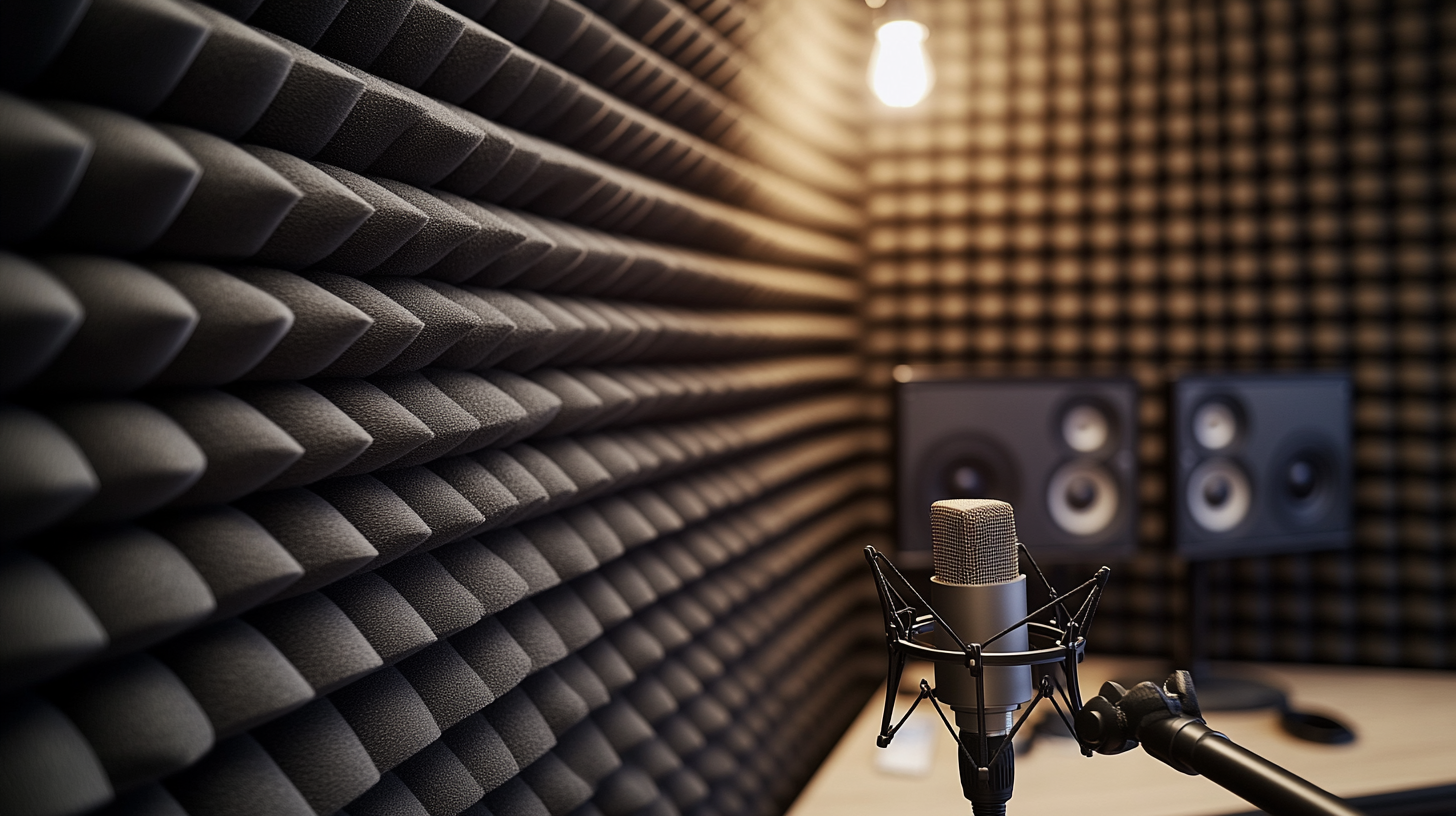
Freestanding or tension-mounted frames make zero contact with the wall surface and are the safest choice for rentals, wallpaper, brick, or any wall you cannot touch at all.
How to Mount Acoustic Foam with Removable Adhesive Strips
Removable adhesive strips are the easiest, damage-free way to put acoustic foam directly on a smooth, painted wall. They use a stretch-release backing that holds firmly but peels off without marks.
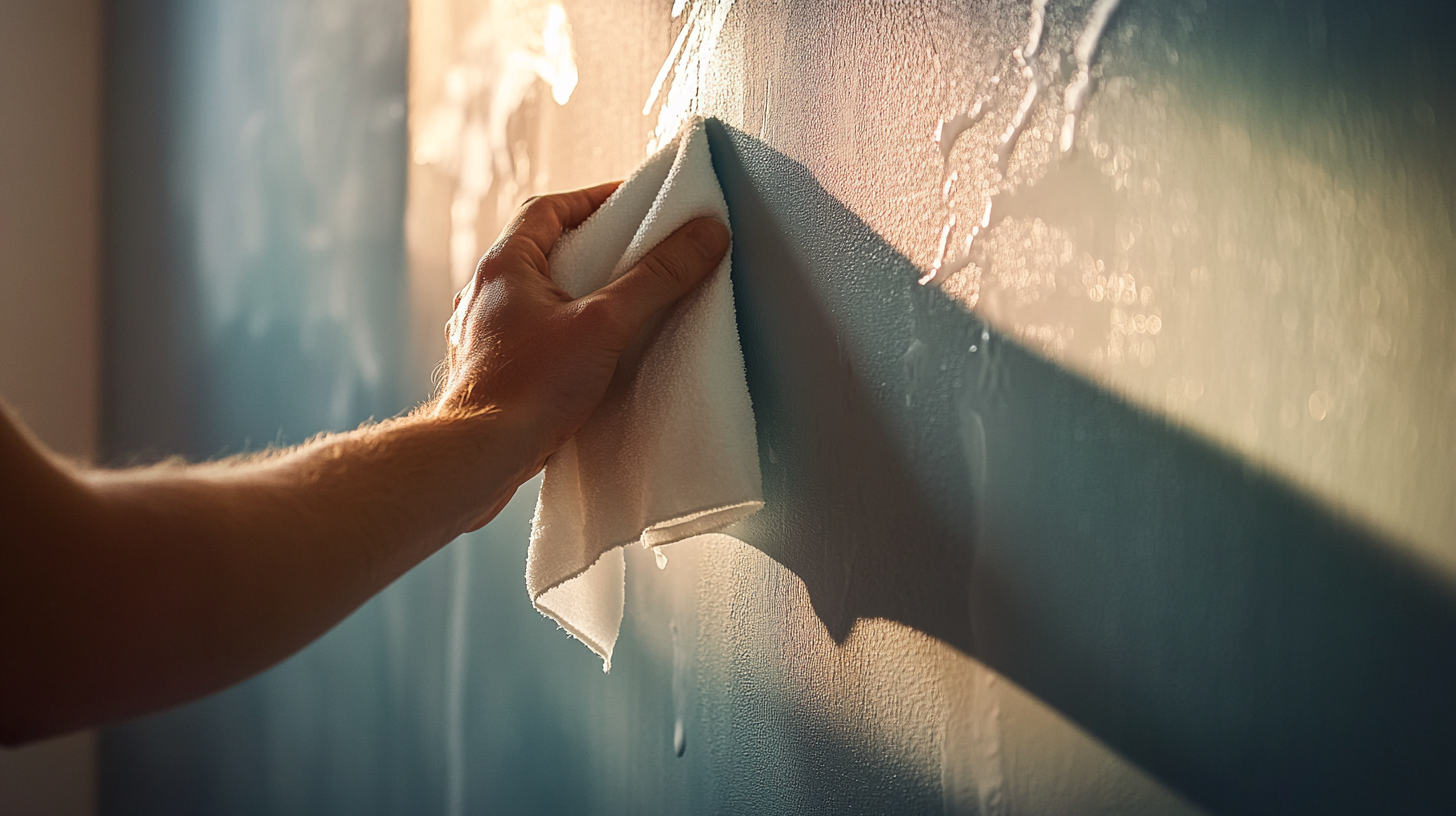
- Clean the wall where each panel will go by wiping it with rubbing alcohol and letting it dry. The adhesive bonds properly only to a clean, dust-free, grease-free surface.
- Press the strips together until they click, so each pair forms one removable unit.
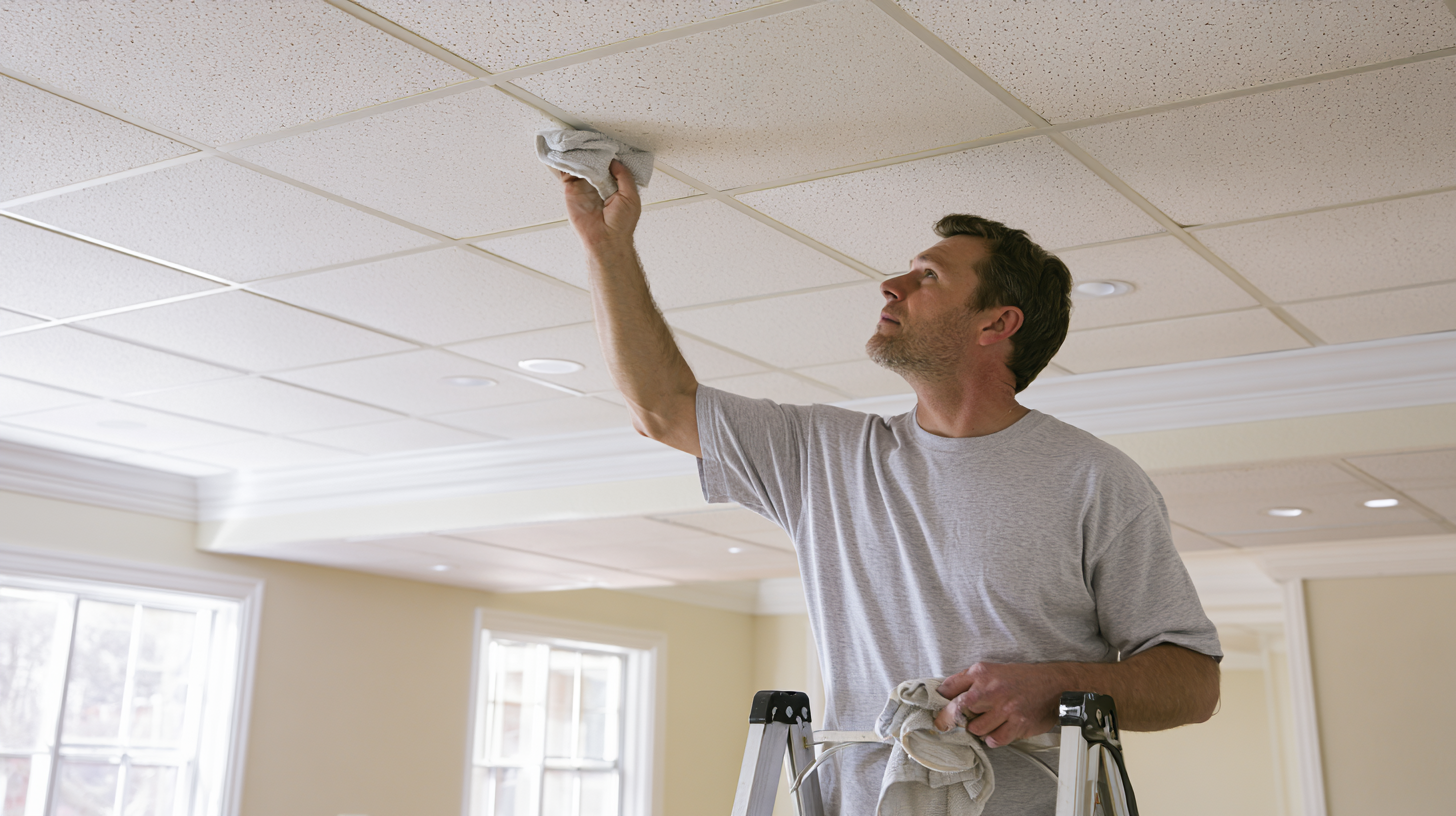
- Attach the strips to the flat back of the foam. Use two strips for a panel on a vertical wall and four strips if you are mounting onto a ceiling, where weight pulls straight down.
- Position the foam where you want it, then press it firmly against the wall for about 30 seconds to let the adhesive set.
- Wait at least an hour before relying on the bond, especially for larger or heavier panels.
Do not use this method over wallpaper, because the strips can lift the paper when removed. Smooth painted drywall, glass, and finished wood are the surfaces that work best.
How to Mount Acoustic Foam on a Backing Board
Backing-board mounting attaches the foam to a lightweight panel instead of the wall, so no adhesive ever touches the wall surface. This is the most flexible damage-free method because you can move the whole panel at any time.
- Cut a piece of lightweight board, such as foam board, cardboard, or thin plywood, slightly smaller than the foam tile so the board stays hidden.
- Glue the acoustic foam to the board with standard craft or spray adhesive, since the bond is permanent and will never reach the wall.
- Let the adhesive cure fully so the foam and board behave as a single panel.
- Hang the finished panel using removable mounting strips, hook-and-loop strips, or a picture-hanging hook rated for the panel's weight.
- Reposition by lifting the panel off its hardware, which lets you tune placement without re-gluing anything.
This method also makes it easy to build larger acoustic clouds or movable panels that you can take with you when you move out.
Other Non-Damaging Options
Two further methods help when adhesive strips are not suitable, such as on rentals, wallpaper, brick, or textured walls.
Hook-and-loop (Velcro) strips work like removable strips but allow the foam to be detached and reattached many times. One side stays on the wall mount or backing board and the other on the foam, which is useful while you are experimenting with placement before settling on a final layout.
Freestanding and tension-mounted frames hold acoustic panels without touching the wall at all - a common approach in apartment soundproofing, where you cannot modify the surface.
How to Prepare the Wall and Remove Foam Without Damage
Surface preparation and proper removal are what ensure a wall remains undamaged throughout the full life of the installation.
Before mounting, confirm the surface is fully cured and clean. Paint needs to cure for at least three to four weeks before anything adhesive is applied, because adhesive on fresh paint will pull it off. Wipe the area with rubbing alcohol and let it dry so the bond holds on the first try and you avoid repositioning.
To remove adhesive mounting strips without damage, do not pull the foam straight out from the wall. Instead, grip the strip's release tab and pull it slowly straight down along the wall, which stretches the adhesive and releases it cleanly.
Avoid adhesive methods entirely on wallpaper and delicate finishes. For those surfaces, use a freestanding frame so nothing contacts the wall.
Choosing the Right Method for Your Wall
Putting acoustic foam on walls without damaging them comes down to choosing the right mounting method for your wall. Removable adhesive strips are best for smooth painted drywall, a backing board is best when you want to reposition panels, and a freestanding frame is the safe choice for rentals, wallpaper, or brick. Avoid nails, pushpins, and permanent spray adhesive applied directly to the wall.
For larger rooms or permanent acoustic treatment where placement and performance matter, a professional assessment ensures the foam goes exactly where reflections occur. New York Soundproofing designs and installs acoustic treatment for home studios, offices, and commercial spaces across the United States.