A professional recording studio setup is the process of turning a room into a working recording and mixing facility: selecting and measuring the space, isolating it, treating the acoustics, installing the equipment chain, positioning the monitors, wiring the booth, and calibrating the finished system. The full sequence covers 7 steps, and the order matters: skipping ahead to equipment before treatment produces the most expensive rework later.
Step 1 - Choose and Measure the Room
Start by checking the room's proportions. A length-to-width ratio between 1.3:1 and 1.6:1 spreads low-frequency room modes evenly across the spectrum; square and cube-shaped rooms stack modes at the same frequencies and create severe bass peaks and dips that no reasonable amount of absorption removes.
Check four more parameters before committing:
- Floor area of at least 200 sq ft and ceiling height of 8 ft or more for the control room
- Electrical capacity for equipment, lighting, and HVAC on separate circuits
- Noise floor: sit in the room at night and listen for street traffic, plumbing, elevators, and mechanical systems
- Structure: concrete slab or reinforced floor if you plan built-in framing
If the room is close to a square, build a rigid non-load-bearing wall to cut it into a rectangle. The same fix removes alcoves and nooks, which act as resonators. In one documented build, the owners calculated the new wall position down to the centimeter to even out the modal spread, then confirmed the prediction with measurements.
Record a baseline before any construction: a frequency response and RT60 measurement in REW (Room EQ Wizard) with a calibrated microphone. Every later decision gets compared against this reference. An acoustic consultation and design service models the modal behavior from room dimensions at this stage and flags problems while fixing them still costs nothing.
Step 2 - Plan Soundproofing and Isolation
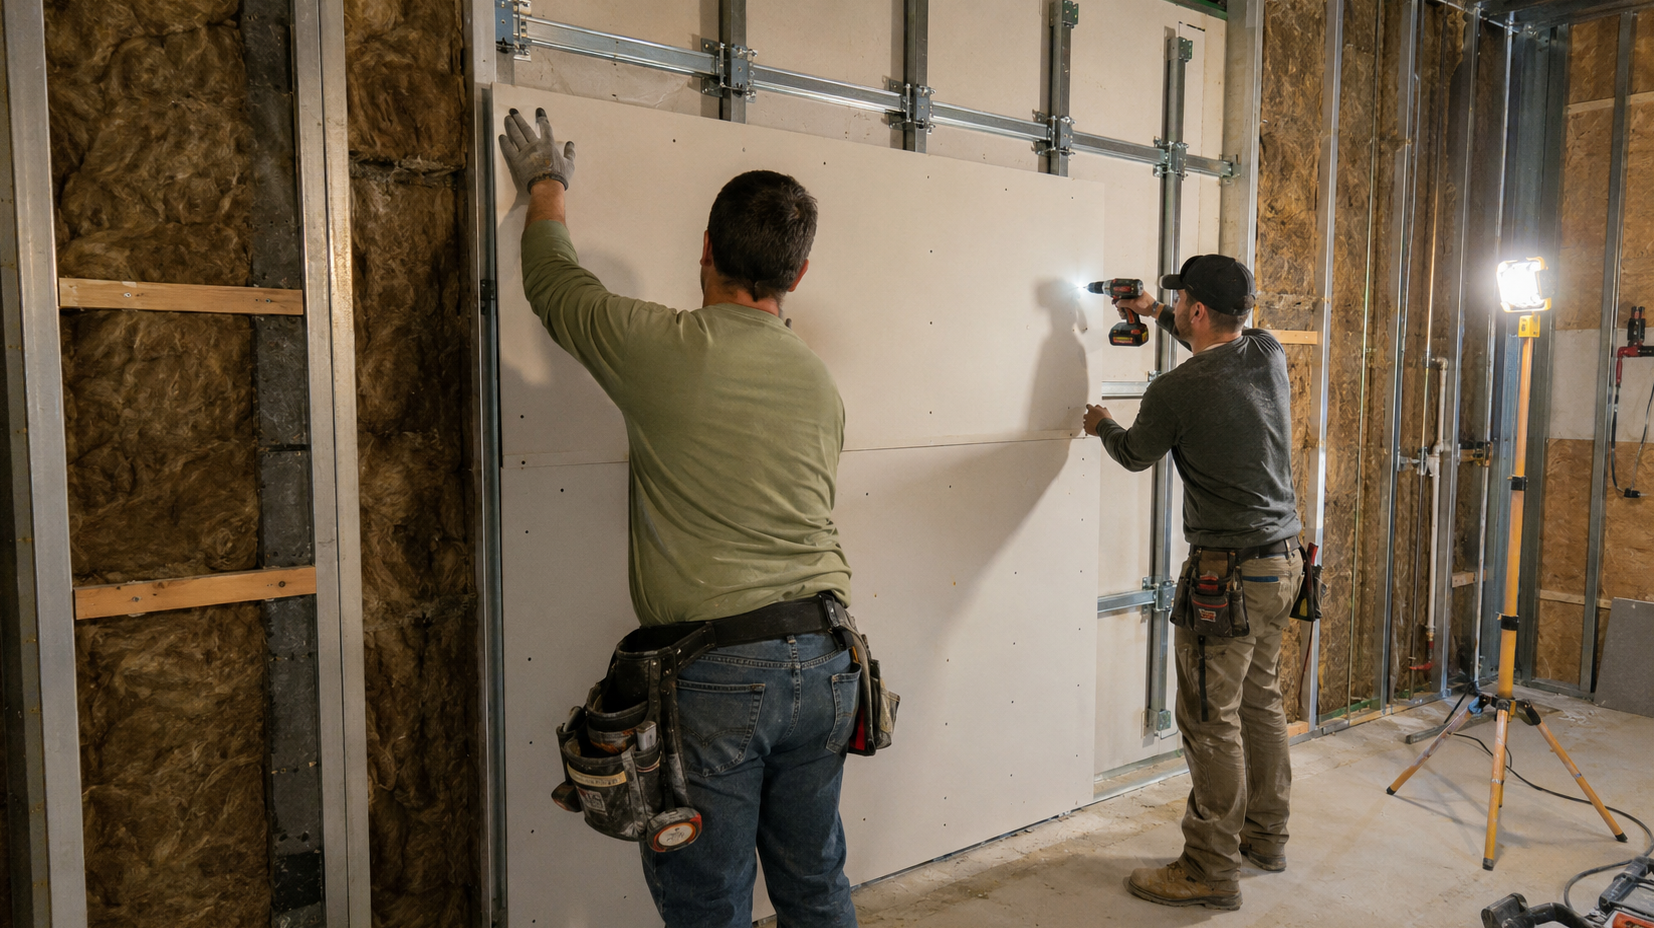
Decide how much isolation the studio needs before designing the treatment. The answer depends on three factors: shared walls or floors with neighbors, outside noise entering recordings, and session hours. A detached garage tracking during the day needs minimal isolation; a Brooklyn apartment tracking drums at night needs a full decoupled build.
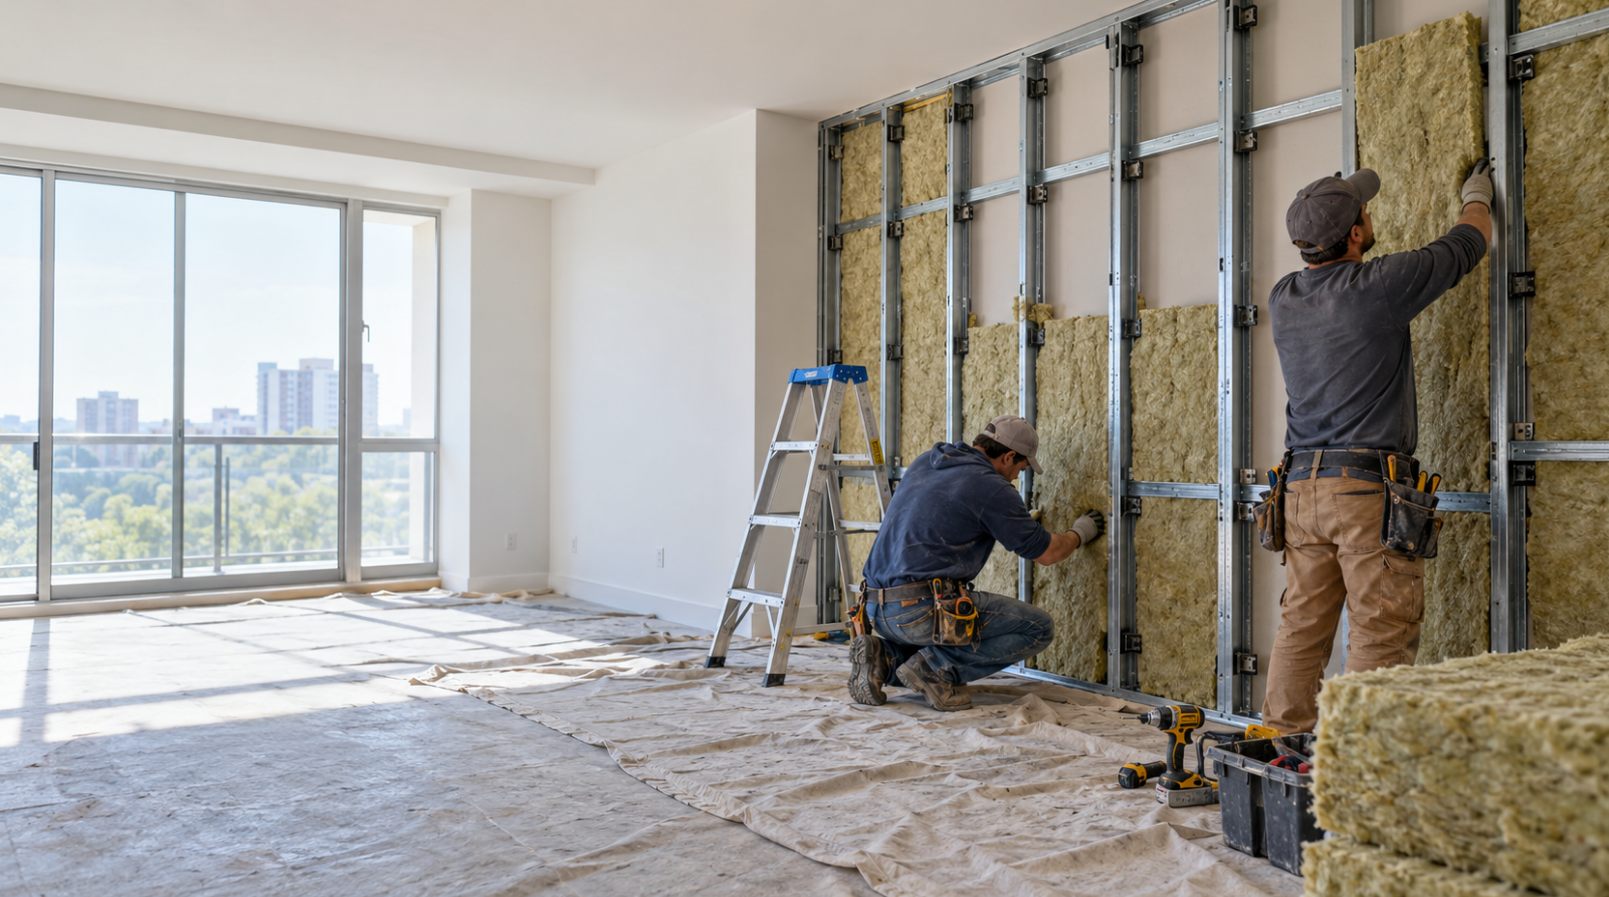
Soundproofing works through three mechanisms applied together: mass (dense layers such as double drywall with damping compound), decoupling (isolation clips, floating floors, separated framing), and sealing (acoustic caulk on every gap, door seals, sealed electrical boxes). A single weak point, such as an untreated door or a back-to-back outlet, leaks enough sound to undo the rest of the assembly. Full recording studio soundproofing covers the entire shell as one system: walls, ceiling, floor, doors, windows, and HVAC penetrations.
Keep the two disciplines separate in the plan and the budget. Isolation blocks sound transmission through the structure; treatment shapes sound behavior inside the room. Materials rarely overlap: decoupled wall soundproofing assemblies stop transmission, while the porous insulation inside the room handles absorption. Plan isolation first because it defines the finished wall positions that the treatment then attaches to.
Step 3 - Install Acoustic Treatment
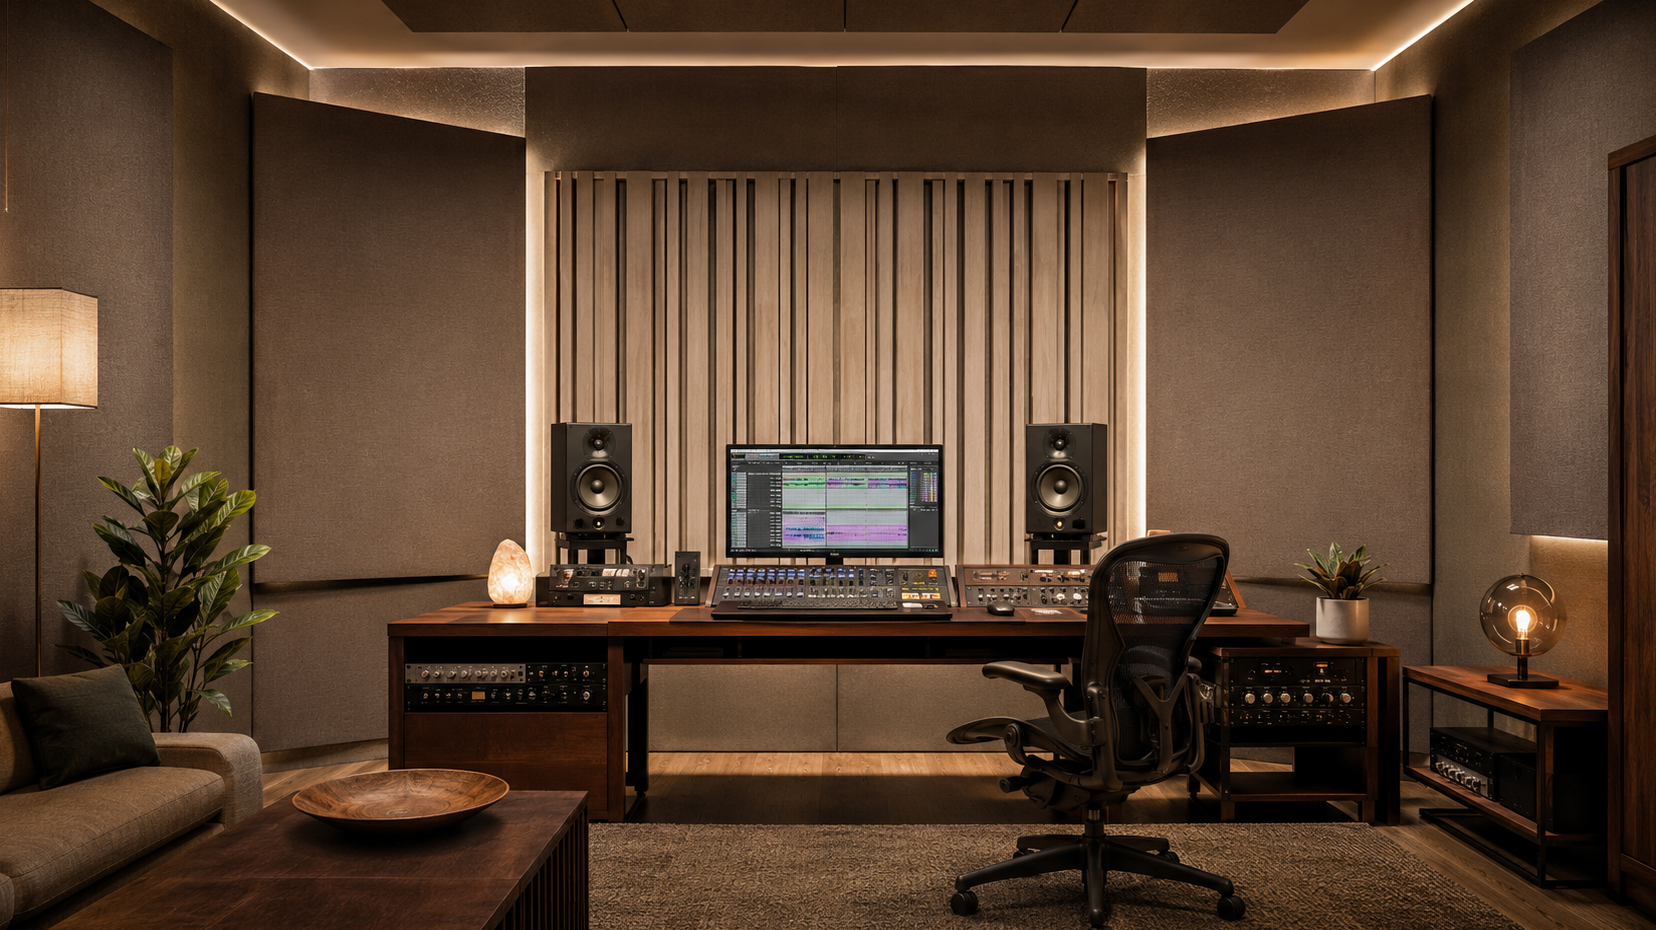
Install treatment in this order: corner bass traps first, then absorption at the first reflection points, then the back wall, then diffusion.
Bass traps
Fill wall-to-wall and wall-to-ceiling corners with deep porous absorption. Corners collect pressure buildup for every room mode, so trapping there controls the 40-120 Hz range that flat panels never reach. Depth targets specific frequencies: a 20 cm insulation layer with a 20 cm air gap absorbs down to roughly 60-70 Hz, and one documented control room used a 30 cm layer with a 30 cm gap on the back wall to kill a stubborn 55 Hz mode.
First reflection points
Find them with the mirror trick: a helper slides a mirror along the side walls and ceiling while you sit at the listening position; wherever you see a monitor in the mirror, mount an absorption panel. Choose insulation density between 25 and 40 kg/m³. Deep assemblies work well at 25 kg/m³; thin panels of 5-10 cm need the heavier end of the range to compensate.
Back wall and diffusion
Absorb the back wall deeply, then add diffusion (wood diffuser strips or QRD panels) on the rear wall or ceiling to scatter remaining energy. Diffusion keeps the room from sounding dead after heavy absorption and preserves a usable sense of space.
The classic mistake at this step: covering walls with thin foam. Foam absorbs mids and highs only, leaving every bass problem untouched, so the room sounds dull and still mixes inaccurately. Professional acoustic treatment services calculate panel depth and placement from the Step 1 measurements instead of guessing from generic kits.
Step 4 - Set Up the Equipment Chain
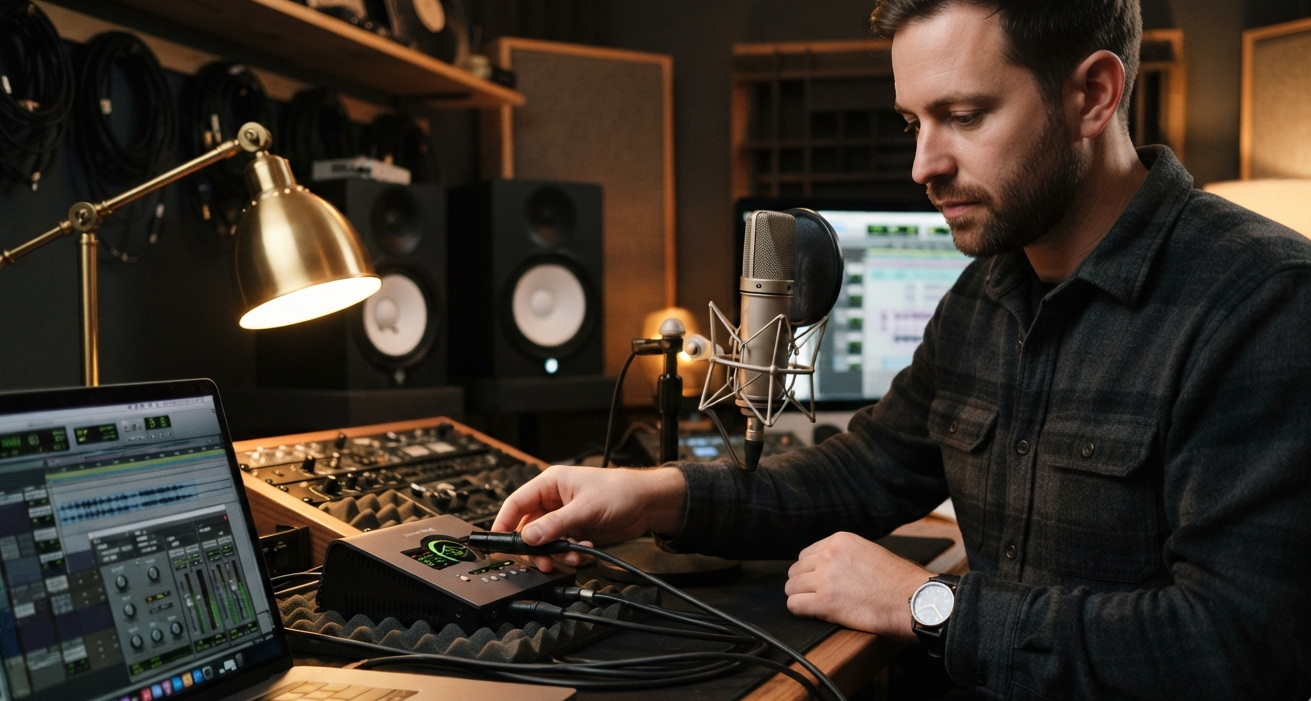
Connect the chain in this order: computer, audio interface, monitors, then microphones and headphone amp. Use balanced cables (XLR or TRS) for every monitor and microphone run to keep noise out of long lines.
The working minimum for professional sessions:
|
Component |
Working requirement |
|
Audio interface |
Clean preamps; 8 mic inputs and ADAT expansion if a booth sends multiple channels |
|
Studio monitors |
Nearfields with 6.5-8 inch woofers for rooms of 200-350 sq ft, flat response, extension to 45 Hz |
|
Microphones |
One large-diaphragm condenser for vocals, a small-diaphragm pair for stereo sources, 2-3 dynamics for loud sources |
|
Headphones |
Closed-back for tracking, plus a headphone amp for artist cue mixes |
|
DAW & computer |
Any major DAW (Pro Tools, Logic Pro, Cubase, Reaper, Ableton Live); 32 GB RAM, SSD storage, quiet cooling |
Set gain staging immediately: preamp levels peaking around -12 dBFS, monitor volume at a fixed calibrated position, interface buffer at 64-128 samples for tracking and higher for mixing. For facilities with several rooms, professional sound system installation handles monitor wiring, level matching, and playback distribution between spaces in one pass.
Step 5 - Position Monitors and Listening Spot
Position in this sequence:
- Place the listening position on the room's center line at 38% of the room length from the front wall, the zone where modal peaks and dips are statistically smallest.
- Form an equilateral triangle: the distance between monitors equals the distance from each monitor to your head, with both speakers toed in.
- Set tweeters at ear height, monitors at least 30 cm from the front wall, or engage the manufacturer's boundary EQ.
- Measure the response at the listening position in REW.
- Shift speakers and desk in small increments, re-measuring after every change.
Measurement drives this step because the stakes per centimeter are high: documented tuning sessions show shifts of a few centimeters creating or removing dips of up to 12 dB. The desk itself commonly causes a comb-filter dip near 600 Hz through its surface reflection; moving the desk forward and lowering the monitors changes the reflection angle and fills the dip.
Independent acoustic measurements before and after this step document the room's real response and decay times, confirm the treatment performs to design, and give you a reference curve for future changes.
Step 6 - Wire and Set Up the Recording Booth
Run all booth wiring before the walls close: a multichannel snake (8-10 sends covers most booths), a talkback line, headphone feeds, and network or camera cable for a sightline substitute. Retrofitting cable through finished acoustic walls damages the assemblies and breaks their seal.
Buy pre-made connector wall panels first and design the snake around them. Custom multi-channel snakes cost more than expected and are difficult to terminate by hand; one builder who needed a 19-channel return learned this the hard way and now recommends matching the channel count to off-the-shelf panels from the start.
Treat the booth lighter than the control room: a 10 cm insulation layer with a 10 cm air gap on all walls is a proven standard, since the booth needs a dry, neutral capture space rather than accurate bass monitoring. Keep the floor area at 40 sq ft or more for vocals; smaller enclosures add boxy coloration that absorption cannot fix. Booths tracking amps or drums next to living spaces need heavier isolation, which is where music room soundproofing brings the shell up to the required level.
No booth? A reflection filter behind the microphone plus absorption at the first reflection points produces usable vocal takes in a treated control room.
Step 7 - Calibrate and Verify
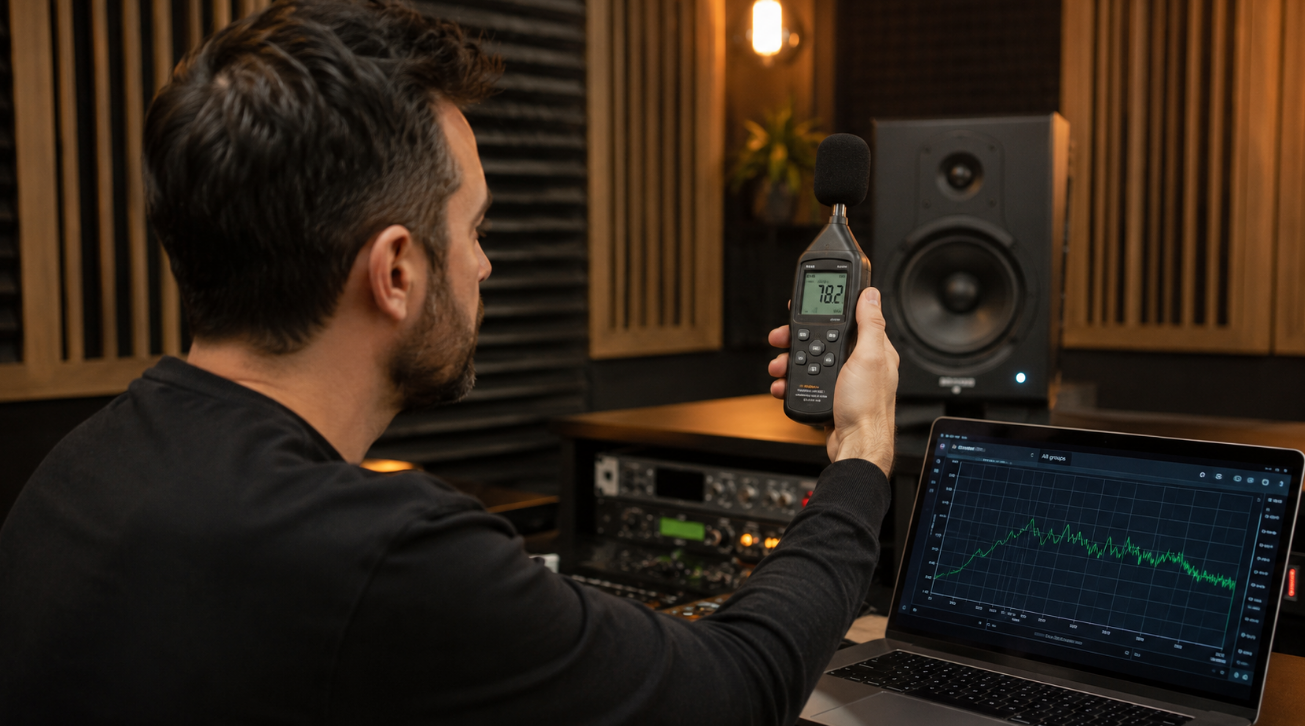
Calibrate the monitoring level: play pink noise at a reference DAW level (-20 dBFS RMS is common) and set each monitor so an SPL meter at the listening position reads your target, typically 79-85 dB SPL per speaker for mid-size rooms. Mark or store the volume position; a fixed monitoring level trains reliable loudness judgment.
Run the final verification measurement and compare it with the Step 1 baseline. Check three things: frequency response within roughly ±6 dB across 40 Hz-16 kHz at the listening position, RT60 in the 0.2-0.35 s range for a control room of this size, and no single dip deeper than 10 dB in the bass range. Save this curve as the room's documented reference.
Finish with a translation test: mix one familiar track in the new room, then play the result in a car, on earbuds, and on a small speaker. If low end and vocal level hold up across systems, the room is ready for client work.
Setup Budget Breakdown
Treatment and construction take a larger share of a professional studio budget than most first-time builders expect; at every tier, the room costs as much as the gear or more.
|
Cost item |
Project studio ($8-12k) |
Commercial studio ($30-80k) |
High-end facility ($100k+) |
|
Construction & isolation |
$1,500-3,000 |
$12,000-30,000 |
$40,000+ |
|
Acoustic treatment |
$3,000-5,000 |
$8,000-15,000 |
$20,000+ |
|
Equipment chain |
$3,000-5,000 |
$10,000-25,000 |
$40,000+ |
|
Wiring, panels, misc |
$500-1,000 |
$2,000-5,000 |
$5,000+ |
|
Design & consulting |
included/DIY |
$1,500-5,000 |
project-based |
Two budgeting rules follow from these proportions. First, cutting treatment to afford better monitors reverses the priority: accurate monitors in an untreated room still lie to you. Second, design fees at the bottom of the table protect the two largest lines above them, which makes consulting the highest-leverage line in the budget.
Key Takeaways
Follow the 7-step order strictly: room, isolation, treatment, equipment, positioning, booth wiring, calibration. The two most expensive sequence errors are buying gear before treatment and wiring after wall completion.
The room sets the quality ceiling and the equipment decides how close you get to it, so budget them at least equally. At every tier, construction plus treatment matches or exceeds the equipment line.
Measure at every stage. A calibrated microphone and REW verify room choice, panel placement, speaker position, and final calibration with hard numbers, and centimeter-scale position shifts can swing the response by 12 dB.